Testing and sending a mailing
Always send a mailing to yourself as a test first. That way you see exactly what the recipients get, with images and attachments. After that you send the mailing to a group.
Sending a test to yourself
- Open the mailing in the admin.
- Click Send Test Only to Me.
- You see the message Test e-mail sent to with your e-mail address. Check your mailbox: the subject starts with [TEST].
The test only goes to the e-mail address of your own account, never to the group. A test does not count in the statistics. Do you get an error message? Check that your own account has a valid e-mail address.
Sending the mailing
- Open the mailing.
- Under Recipients, choose the group that should get the mailing.
- Click Send.
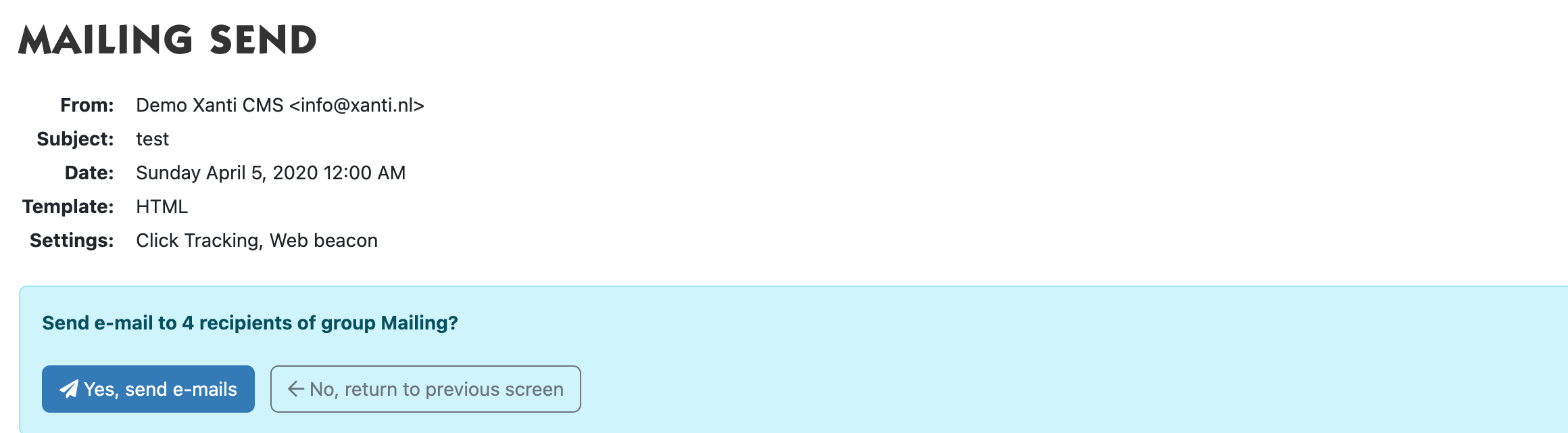
- Check the details on the next screen. You see the question Send e-mail to … recipients of group …? with the number of recipients.
- Is everything correct? Click Yes, send e-mails. If you are not sure, click No, return to previous screen.
The e-mails are sent in the background. You don't have to wait and can keep working. With a large group, sending can take a while. When everything has been sent, you get an e-mail with the result and a link to the report.
Users whose e-mails bounced before (group Bounced) do not get the mailing. That way the same error messages don't keep coming back.
Is there a red box with an error instead of the question? Then the mailing cannot be sent yet. Often the group has no recipients yet, or the subject or the text is missing. Fix this and try again.
You cannot recall a mailing once it has been sent. So send a test first and read it carefully.
See also
- Creating a mailing
- Recipients: groups, subscribing and unsubscribing
- Mailing statistics
Checked: November 2026