Groups and permissions
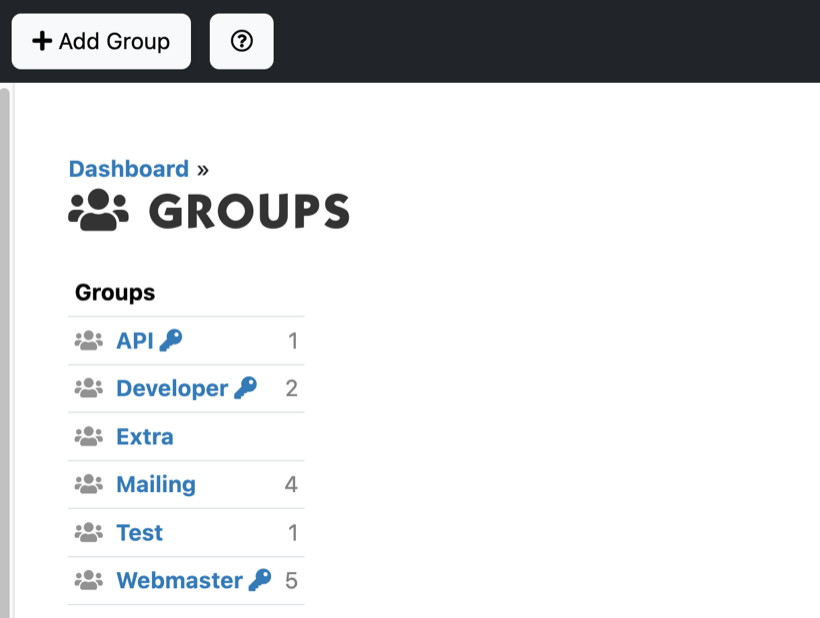
Groups let you divide users. There are two kinds. You use a normal group to select users, for example for a mailing. A security group, with a key , determines what a user may see on the website.
Viewing groups
In the menu on the left, click Groups. You see all groups with the number of users. Click a group to see its users.
Adding a group
- Under Groups, click Add Group.
- Fill in the Name.
- Will it be a security group? Then tick Use as security group.
- Click Save.
Putting users in a group
- One user: open the group, type a name in the search box, choose the user and click Add User. You can also click Edit on the user and tick the group at Groups.
- Many users at once: in the group, click Add Users. You then choose the users with rules, for example all users of one organization.
- Taking users out of the group: tick the users and click Delete. The users themselves remain.
In a group you can also: Edit Group Name, Empty Group, Export the users to Excel, and delete an empty group with Delete Group.
Permissions on a folder or menu item
You set who may see a page on the folder or the menu item.
- Open the folder or the menu item and click Edit.
- At Permissions, choose: Anonymous (everyone), User (everyone who is logged in), Webmaster (webmasters only) or a security group (only the users in that group).
- For a folder: tick Inherit if everything in the folder should get the same permissions. For a menu item you can exclude a group with and not.
- Click Save.
Test the result: log in as a user from the group and look at the page.
See also: Adding or editing a user, Logging in as a user
Checked: November 2026