Creating a test with questions
A test is a folder with questions, just like a form. The difference: with the e-learning option, Xanti keeps track of the score, and the student can get feedback after each question.
Creating the test
- Open the course folder and click New Folder.
- Under Folder name, enter the name of the test, for example Entry test.
- Under Folder content, choose Questions.
- Under Permissions, choose User, so only students who are logged in can take the test.
- Under For all questions in this folder, tick Enable E-learning (keep track of scores, handle feedback).
- Do you want the student to see after each question whether the answer was right, with your explanation? Then also tick Display individual feedback messages. With Hide Correct/Incorrect feedback, the student sees only your explanation, without "correct" or "incorrect".
- Click Save.
Questions, choices and answers
- In the test, click Add Question.
- Under Type, choose Single choice (one right answer), Multiple choice (tick more than one answer) or Text paragraph (text only, for example an explanation or lesson material).
- Type the Question and click Save.
- Click Add multiple choices, type each choice on its own line and click Add Choices.
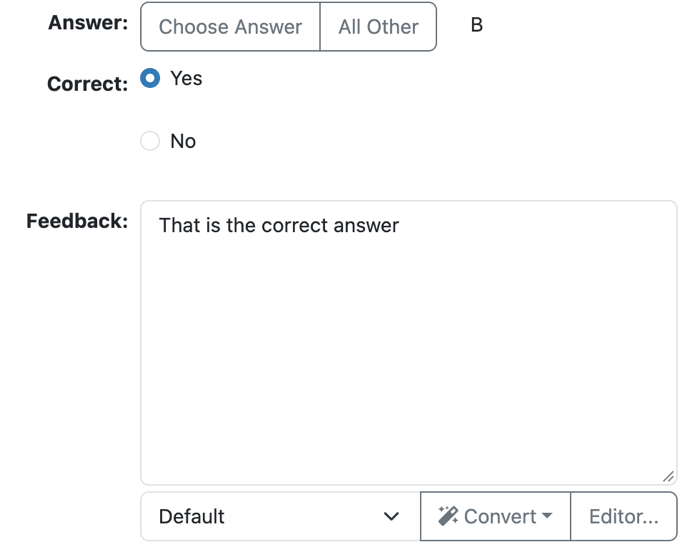
- Click Add Answer. Click Choose Answer and choose the right choice. With Multiple choice, choose all the choices that together are right.
- Under Correct, choose Yes, and under Feedback, type the explanation the student sees. Click Save.
- Add another answer with All Other, choose No under Correct, and type the explanation for a wrong answer.
With Display individual feedback messages, there may be only one question per page. So switch on Page break after this question for every question. After that, a student cannot change an answer anymore.
Do you already have the questions in a file? In the test, choose More > Import > Questions XML/TXT File. That page shows an example of the file format.
With More > View, you see all the questions of the test one below the other. Then check the test with More > Course Check: it reports, for example, questions that cannot be answered right or cannot be answered wrong.
See also
- Building a course
- Question types and settings
- Viewing tests and results
Checked: November 2026