Putting a course online and giving students access
When the course is ready, you put it online and give the students access. A student must always be logged in: only then does Xanti save their answers, score and progress.
Putting the course online
- Open the course folder and click More > Course Check. Fix the errors until you see No course errors found.
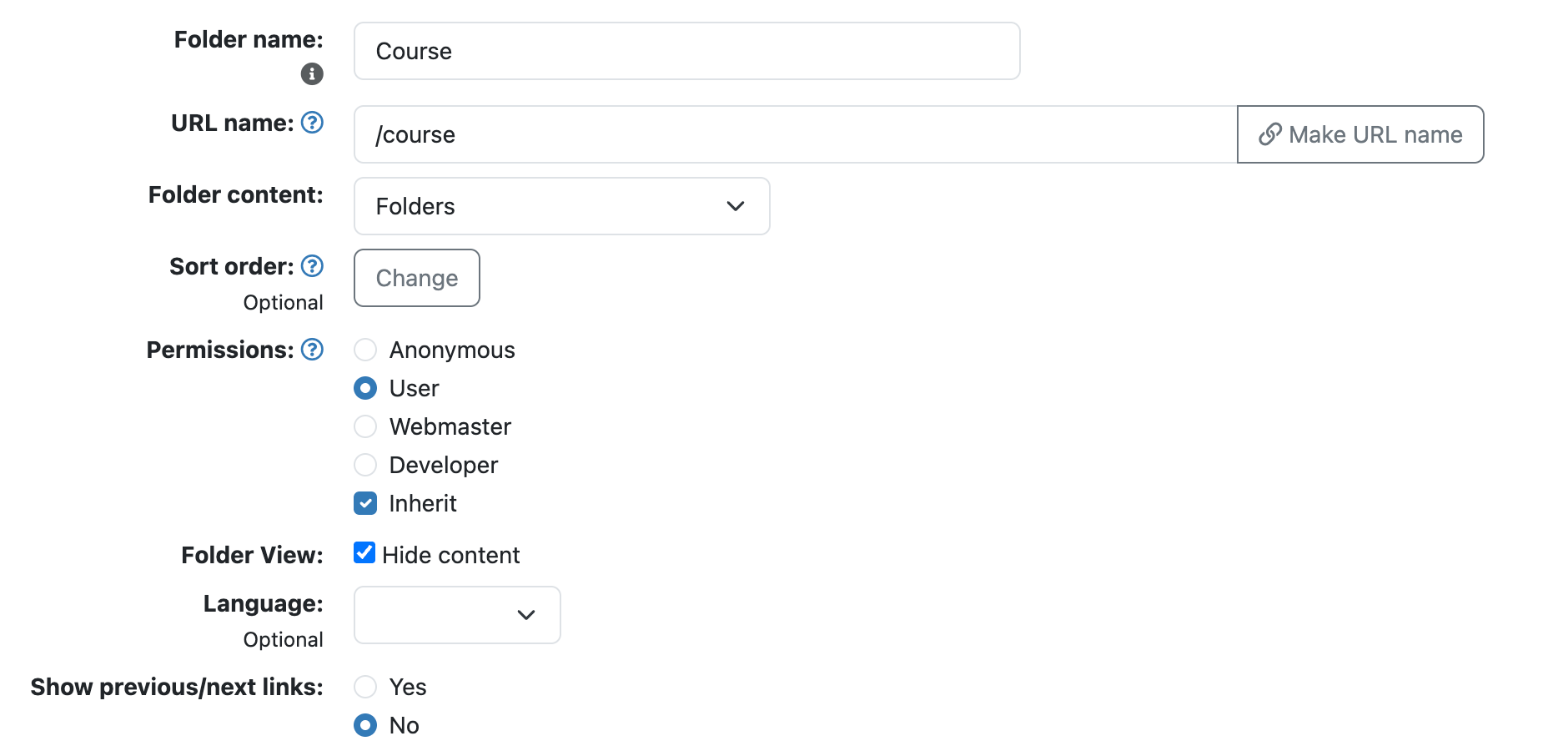
- In the course folder, click More and, under Folder, choose Edit. Under Permissions, choose User (everyone who is logged in) or a group of your own, for example Students. Tick Inherit so the tests and the lesson material get the same permissions. Click Save.
- Add the course to the menu of your website: create a menu item to the course folder. The student then sees the Intro text first. Put a link to the first test in it.
- Also add Mijn pagina (My page) to the menu. In the URL picker, choose the special URL Mijn pagina (/mijnpagina).
Never set a test to Anonymous. Xanti then creates a new user for every visitor, and the scores belong to nobody. Still working on the course? Set the permissions to Webmaster: then only administrators see the course.
Giving students access
- Create a user for each student, with an e-mail address to log in with (see Adding or changing a user).
- Did you choose a group of your own under Permissions? Then tick that group under Groups for the user.
- Send the student the address of the website. After logging in, they open the course from the menu.
What the student sees
On Mijn pagina (My page), the Cursusoverzicht (course overview) lists every course the student has started, with the Score and whether they have finished it (Afgerond). Under Details, they see the status of each part, such as Nog niet gemaakt: Starten (not done yet: start), Nog 3 vragen: Ga verder (3 questions left: continue) or Afgerond op ... (finished on ...). If it says Starten kan nog niet. (you cannot start yet), they must first finish another part (the Must be done setting).
Test the course yourself before you announce it: create a test user and log in as that user (see Logging in as a user). Afterwards, delete the answers of the test user.
See also
- Building a course
- Groups and permissions
- Viewing tests and results
Checked: November 2026