Placing an image in a text
In the text editor you can place a photo or image between the text. The image comes from the Filemanager; you can also upload a new photo straight from the selection window.
Inserting an image
- Open the page or item and click Edit.
- Click in the text where the image should go.
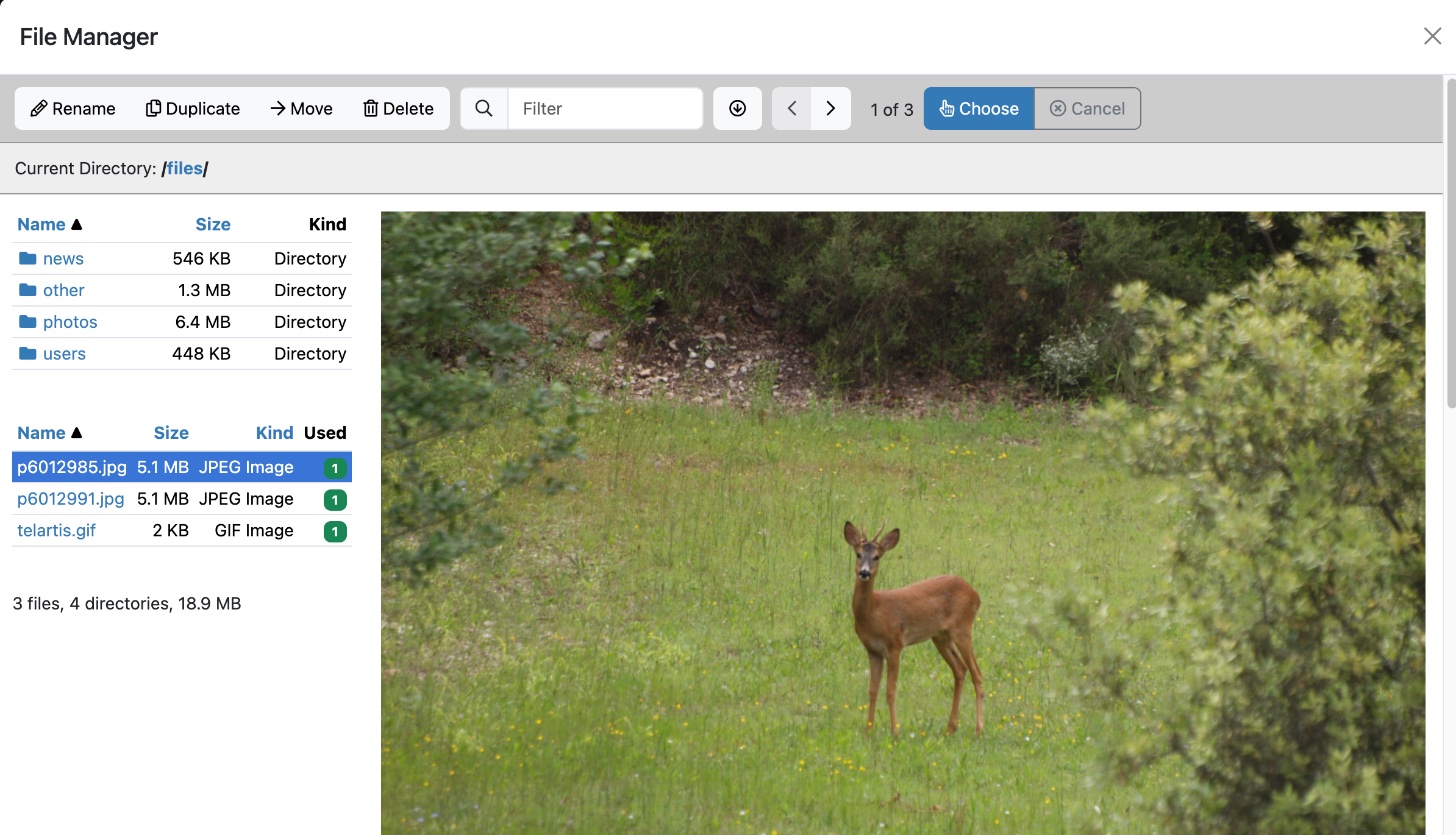
- In the editor toolbar, click the button with the image icon. The File Manager window opens; you only see images.
- Open the folder with the image. Is the photo still on your computer? Then first drag it onto the Drag & drop files here box at the bottom of the window.
- Click the name of the image and then Choose.
- The image is now in the text. Click Save.
An inserted image is never wider than the column it is in. So on a phone it adjusts automatically.
Adding a description (alt text)
The alt text describes what is in the image. People with poor eyesight have it read aloud, and search engines use it too.
- Click the image in the text.
- In the toolbar, click the button with the sliders (Image properties).
- Fill in a short description at Alt text, for example Children playing in the schoolyard.
- Click OK and then Save.
Don't use huge photos straight from your camera or phone. A width of about 1200 to 2000 pixels is usually enough. You can make a photo smaller in the Filemanager.
Removing an image
Click the image in the text and press the Delete or Backspace key. The file stays in the Filemanager.
See also
- Choosing an image for news or another item
- Cropping, rotating or resizing an image
- Uploading and organizing files in the Filemanager
Checked: November 2026